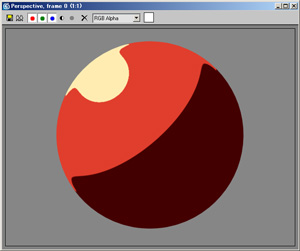
We introduce the creation of textures using Pencil+ 2 Material's [Advanced Settings] / [Gradation Offset Map].
We shall create a texture where the light curves like in hand drawn illustrations.

We shall create a texture where the light curves like in hand drawn illustrations.
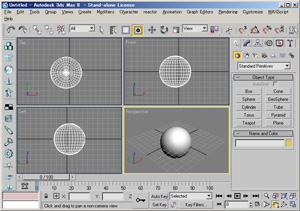 Create a sphere primitive so that it is easy to observe the curving light effect.
Go to the [Create] panel and press the [Geometry] button, then select [Standard Primitives]. Finally press the [Sphere] button in the [Object Type] rollout.
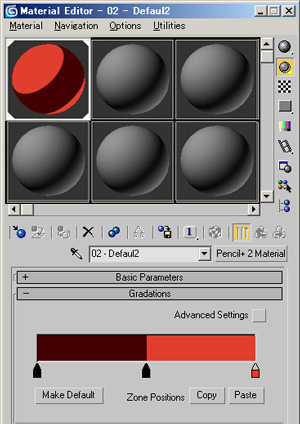 Create a Pencil+ 2 material and configure a simple texture using 2 gradations.
We now completed the basic preparation and can start working on the creation of the actual texture. *See the tutorial "Using Pencil+ 2 Materials" for an introduction to the creation of materials.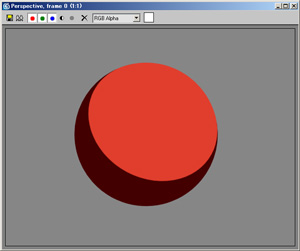
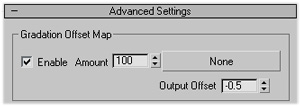 Go to [Pencil+ 2 Material] / [Gradations] rollout / [Advanced Settings] / [Gradation Offset Map] and check the [Enable] check box.
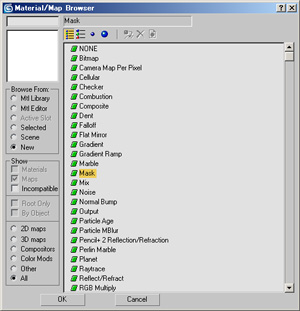 Press the [Map] button, select [Mask] in the [Material/Map Browser] and press [OK].
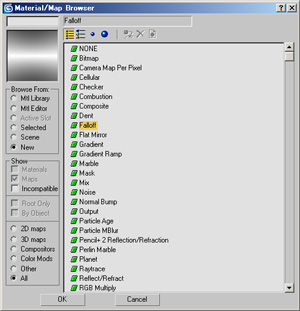 Press the [Map] button in the [Mask Parameters] rollout, select [Falloff] in the [Material/Map Browser] and press [OK].
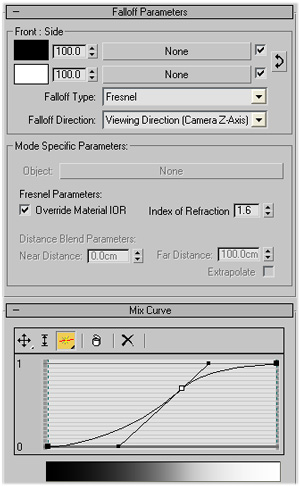 Adjust the [Falloff] parameters.
Choose [Fresnel] from the [Falloff Type] pull-down list and adjust the curve in the [Mix Curve] rollout so that it looks like the one shown here.
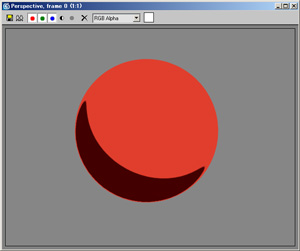 Our texture now makes the light curve around the sphere.
However, regardless of the light, our texture creates an edging effect. We shall therefore define the curvature area.
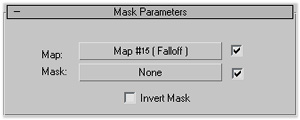 Press the [Mask] button in the [Mask Parameters] rollout of step 5, select [Gradation Ramp] in the [Material/Map Browser] and press [OK].

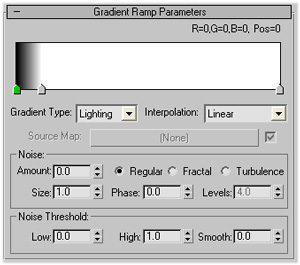 Set the [Gradient Type] in the [Gradient Ramp Parameters] rollout to [Lighting] and adjust the light curving using the [Gradient Bar].
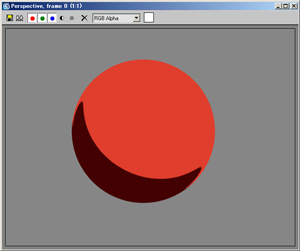
Tips!
You can emphasize the hand drawn image appearance, as shown in this image, by similarly assigning a map in [Pencil+ 2 Material] / [Basic Parameters] rollout / [Glossiness Map].
