This tutorial explains how to create reflected Pencil+ 2 Lines.
 Create two objects (one that will cause a reflection and one that will be reflected).
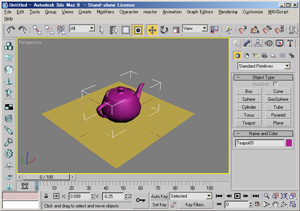
Go to the [Create] panel and press the [Geometry] button, then select [Standard Primitives]. Finally press the [Plane] and [Teapot] buttons in the [Object Type] rollout to create a flat plane and a teapot objects.
 We shall create a mirror-like texture using Pencil+ 2 Reflection/Refraction map.
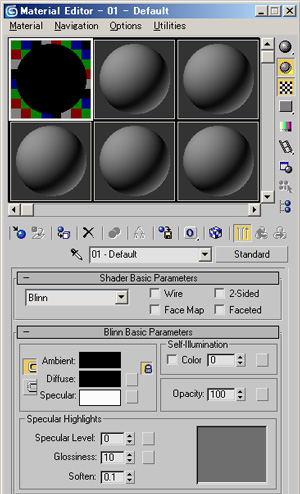
Press the [M] key to open the [Material Editor] dialog box, and set black for [Diffuse], and white for [Specular].
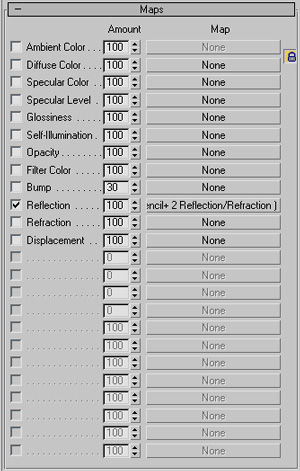
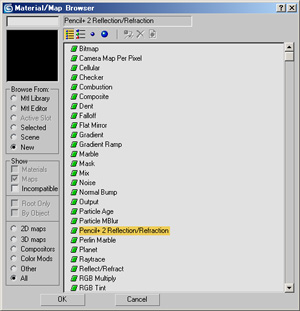 Go to the [Maps] rollout and press the [Reflection] map button. Select [Pencil+ 2 Reflection/Refraction] in the [Material/Map Browser] and press [OK].
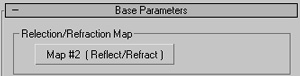 Set the value of [Reflection/Refraction Map] in the [Base Parameters] rollout to [Flat Mirror]. Select [Flat Mirror] in the [Material/Map Browser] and press [OK].
We now completed the configuration of our mirror material. Assign this material to the Plane object.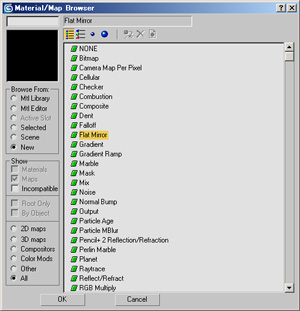
-
 Pencil+ 2 Line configuration.
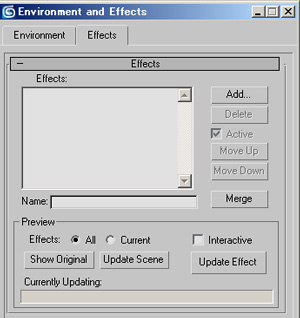
Go to [Rendering] menu / [Effects] / [Environment and Effects] dialog / [Effects] tab / [Add] button / [Add Effect] dialog, select [Pencil+ 2 Line] and press [OK].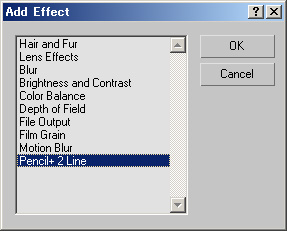
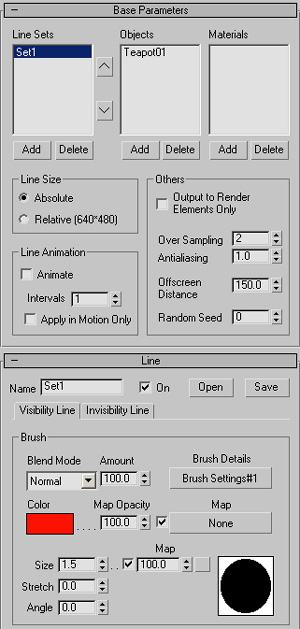 Apply lines to the teapot object.
Set the line color to red and the [Size] to 1.5 so that the effect is easily visible.
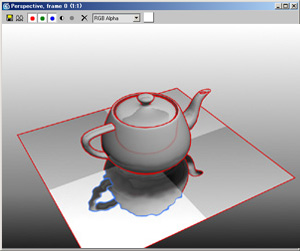
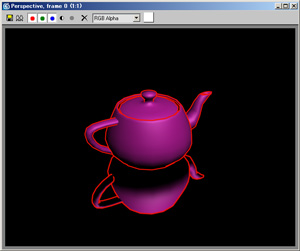 Render the scene.
Tips!
- You can change the line color in special parts by using maps and assigning individual Pencil+ 2 Reflection/Refraction Maps.
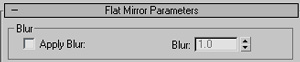
- You can improve the sharpness of blurry reflected lines by disabling [Apply Blur].
