Pencil+ 2 materials possess a unique structure where the Standard Materials are preserved.
We introduce how to apply the effects of Pencil+ 2 materials to all multi/sub-objects using this characteristic.
-
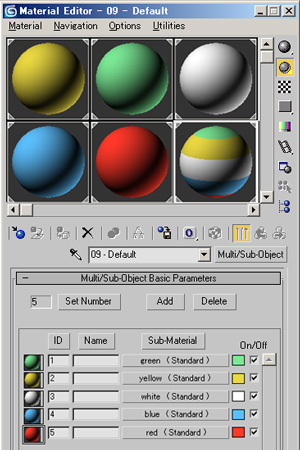
Prepare data where multiple materials are applied to a single object.

Here we used the Box primitive to create a group of objects using 5 different materials and attached all the objects.
 Create a Pencil+ 2 material.
Press the [M] key to open the Material Editor. Select the [Multi/Sub-Object] material and press the [Type] button to open the [Material/Map Browser]. Select [Pencil+ 2 Material] in the browser and press [OK].
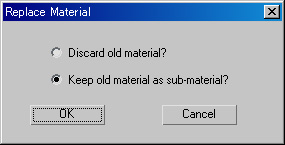
Select [Keep old material as sub-material?] in the [Replace Material] dialog and press [OK].
-
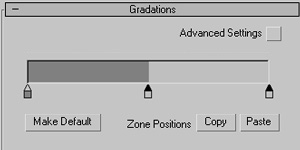 Use the [Gradation] rollout to configure a texture using 2 gradations.
-
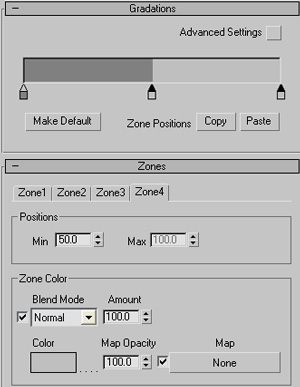 Configure the material so that each sub-material uses its own individual color for [Zone4].
Uncheck the [Blend Mode] check box in [Zones] rollout / [Zone4] tab / [Zone Color].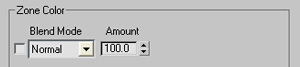
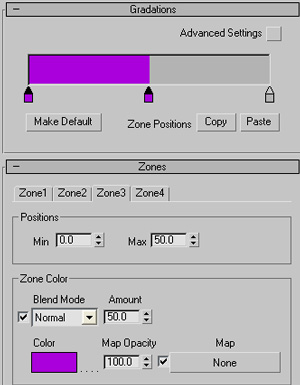 Set the color of [Zone3].
Click the [Color] in [Zone3] tab / [Zone Color] and choose a color. Also, set the blend [Amount] to 50.
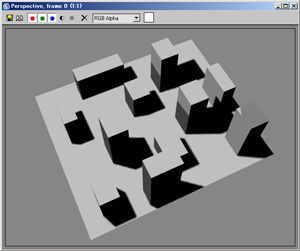
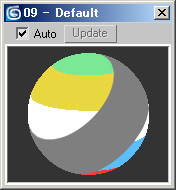
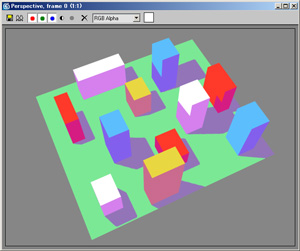 Render the scene.
We see that each material's color is used for [Zone4], so we were able to adjust the zones of multiple materials efficiently.
