We explain how to use the Nitrous shader to display Pencil+ 4 Materials in the Nitrous viewport. The Nitrous shader can be used starting with 3ds Max 2016.
- Create a scene using a Pencil+ 4 Material.
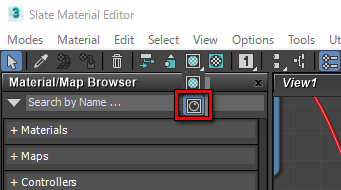
- Open the Slate Material Editor Press the [M] key to open the Slate Material Editor.
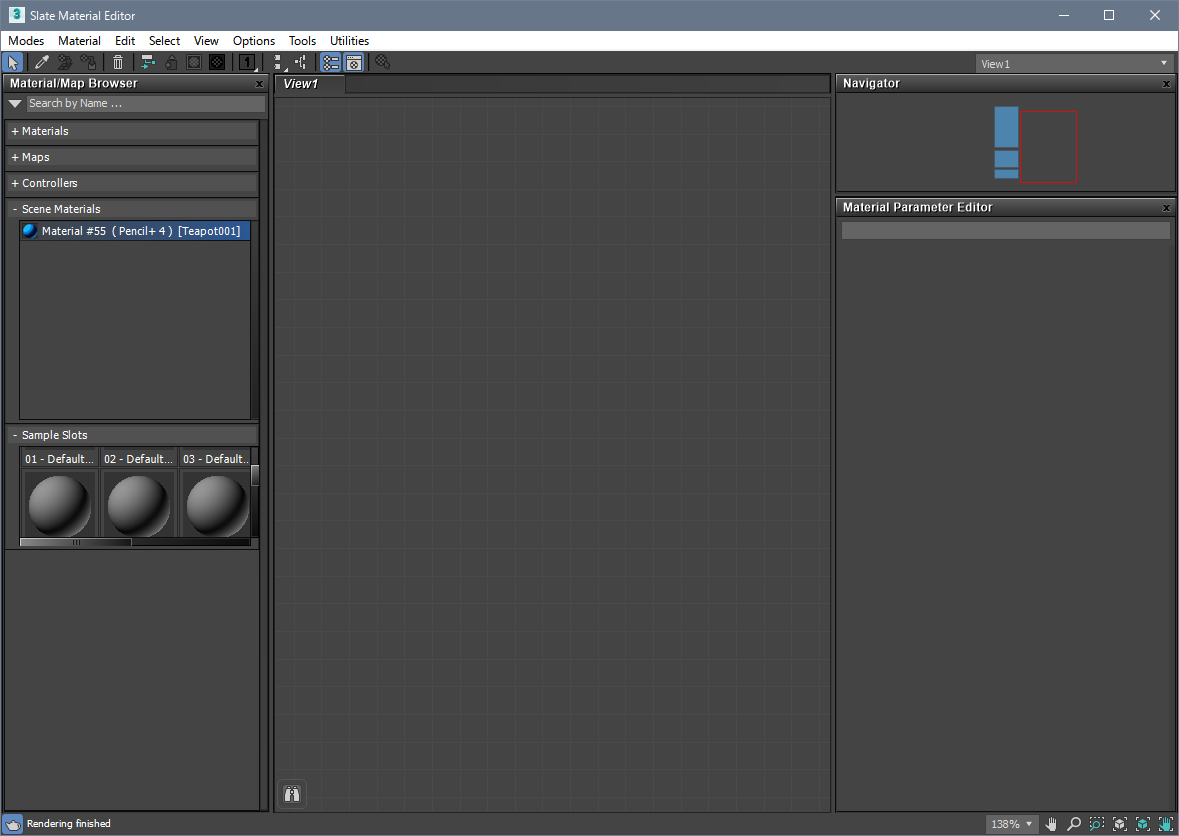
- Show the material in the Slate Material Editor's [View].
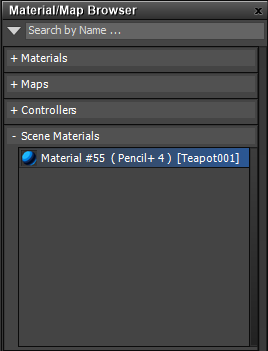
Double-click the material in the [Scene Materials] section of the [Material/Map Browser] to show the Pencil+ 4 Material node in the View.
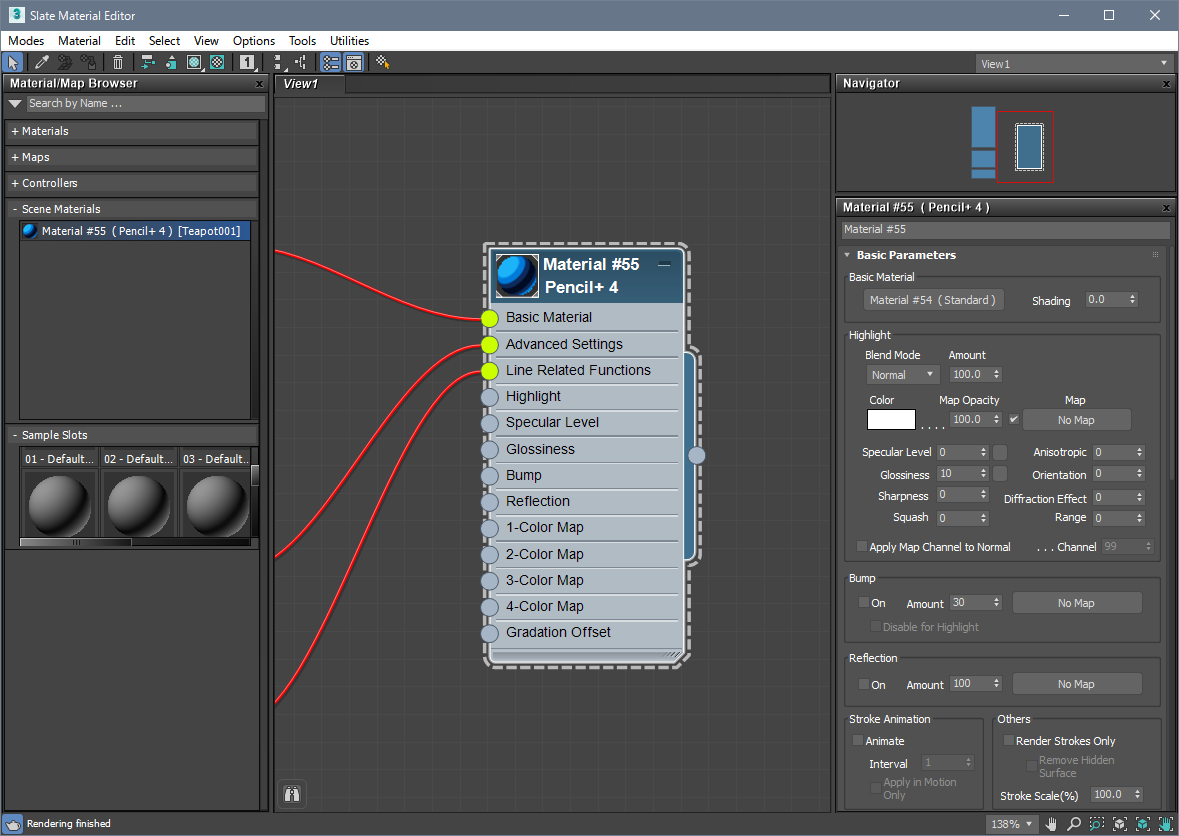
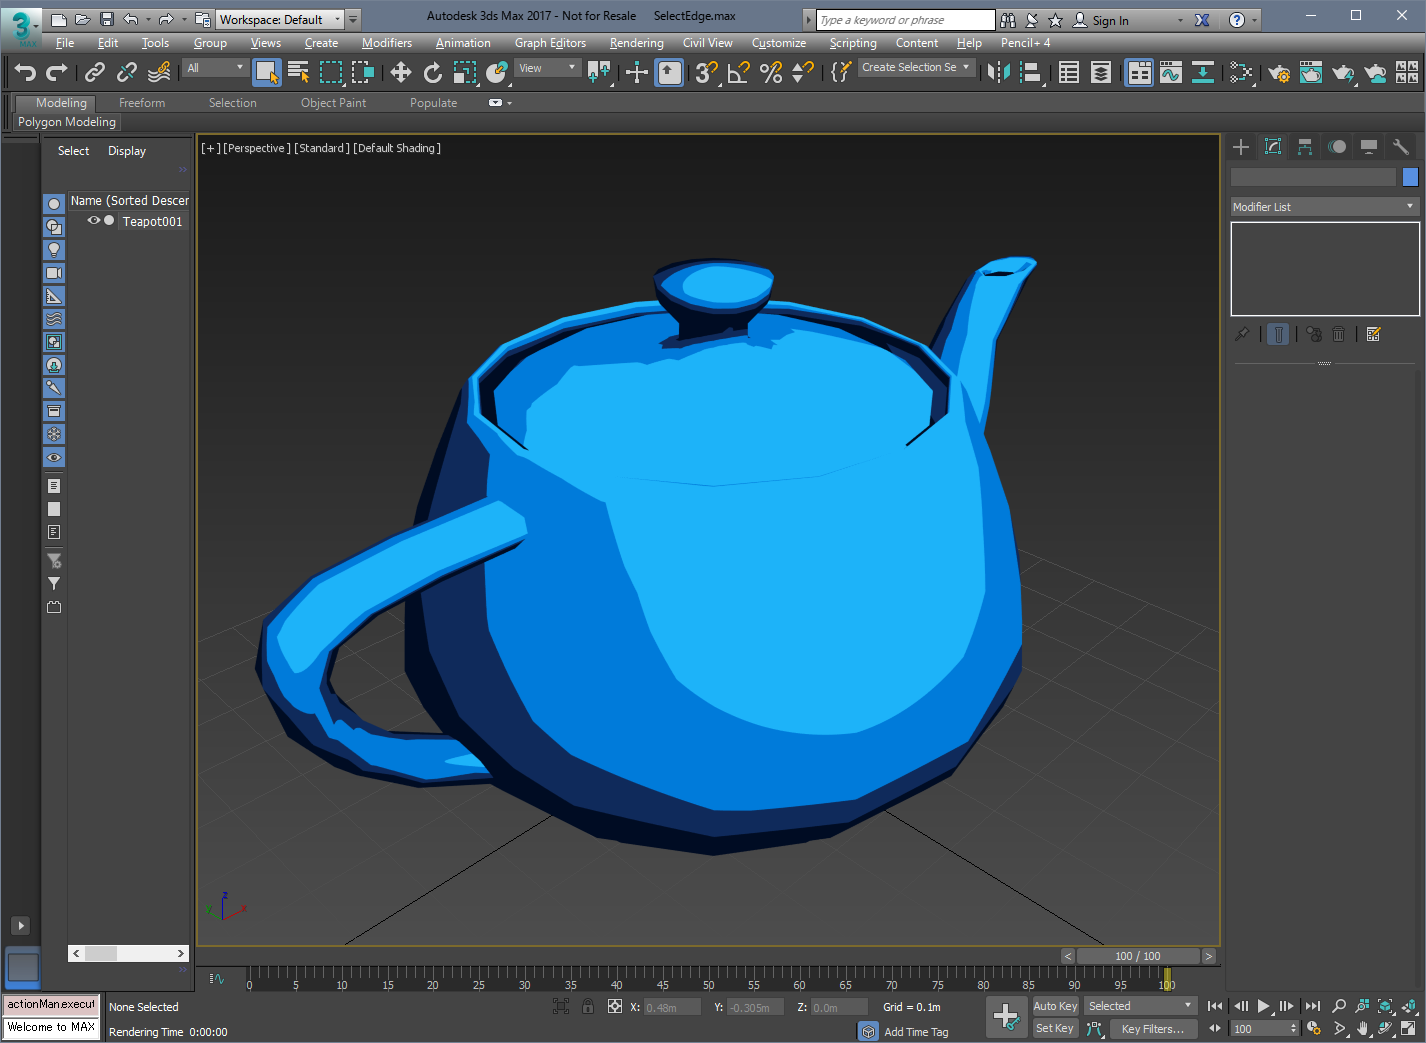
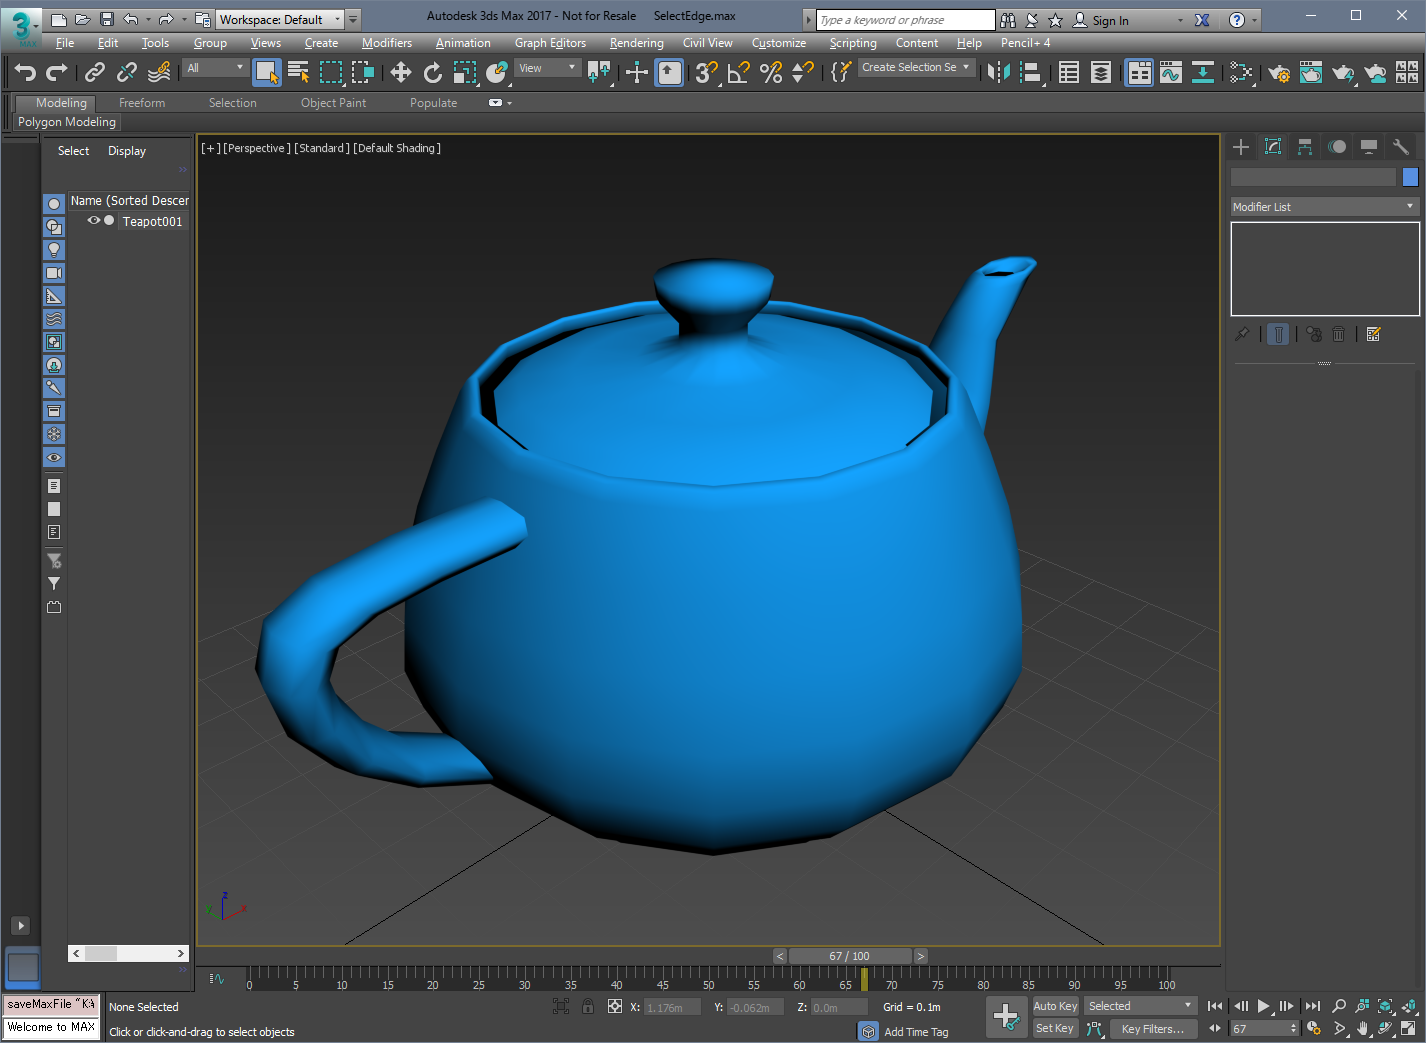
- Turn on [Show Realistic Material in Viewport].
Select the Pencil+ 4 Material node, click and hold [Show Shaded Material in Viewport] in the Slate Material Editor's toolbar and switch to [Show Realistic Material in Viewport]. Shader compilation is executed automatically and the Pencil+ 4 Material is shown in the viewport.
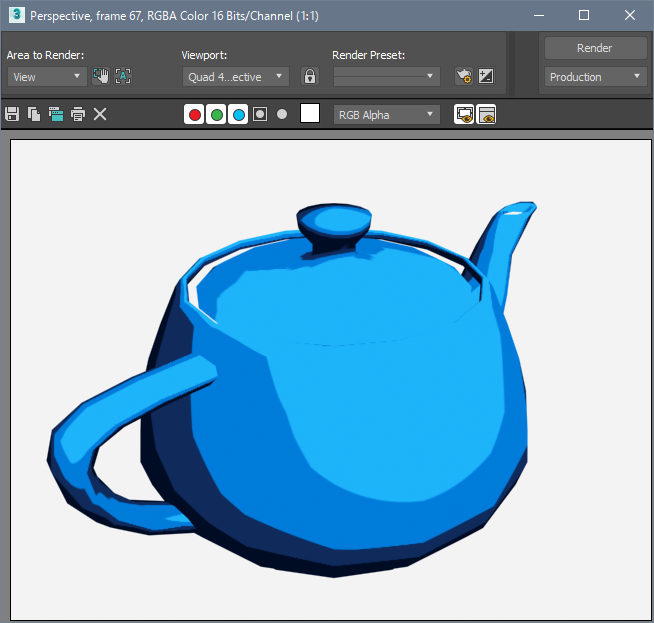
If you wish to apply [Show Realistic Material in Viewport] to all the materials in the scene, click "File Menu / Views / Show Materials in Viewport As / Realistic Materials with Maps".
*It is not possible to click a button in the Slate Material Editor to turn OFF the maps of realistic materials. Please use the Compact Material Editor if you wish to switch the maps of realistic materials ON or OFF.