This tutorial explains how to use Pencil+ 2 Hidden Lines.
-
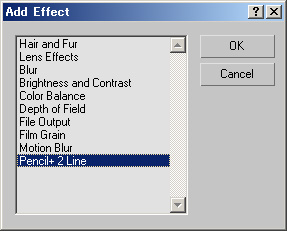
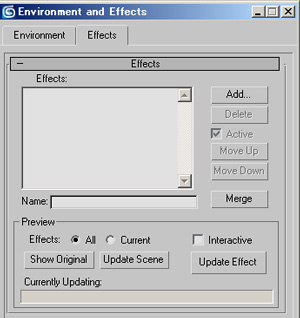 Go to [Rendering] menu / [Effects] / [Environment and Effects] dialog / [Effects] tab / [Add] button / [Add Effect] dialog, select [Pencil+ 2 Line] and press [OK].
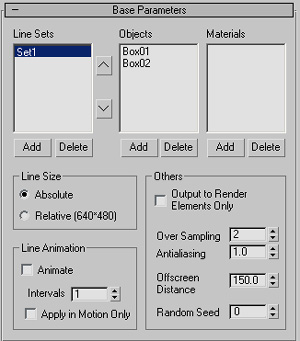
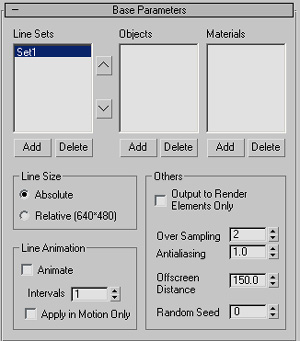 Push the [Add] line set button in the [Base Parameters] roll out to add a line set.
-
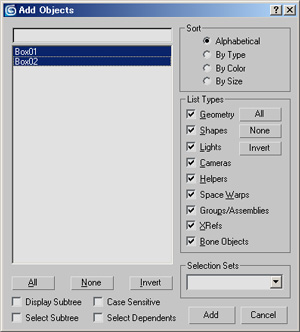 Press the [Add] object button in the [Base Parameters] roll out and add an object on which to draw lines.
-
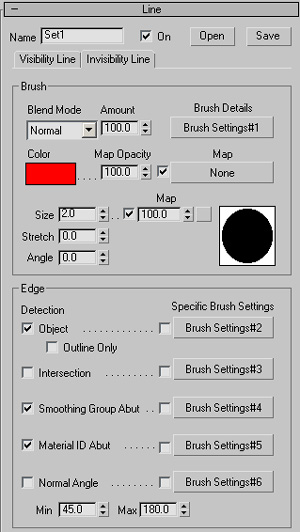 Go to [Line] rollout / [Invisibility Line] tab / [Edge] and adjust the check boxes. This time, as an example, we check [Object], [Smoothing Group Abut] and [Material ID Abut].
Also, in order to easily see the hidden lines, set the [Color] in the [Brush] section to red.
-
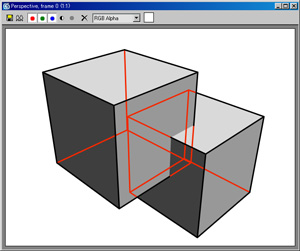 Render the scene.
