We explain how to use Pencil+ 4 Normal Copy. Pencil+ 4 Normal Copy is used to refer to an object with a different shape to perform shading calculations. Both objects involved in the normal copy must have the same number of summits and same surface organization.
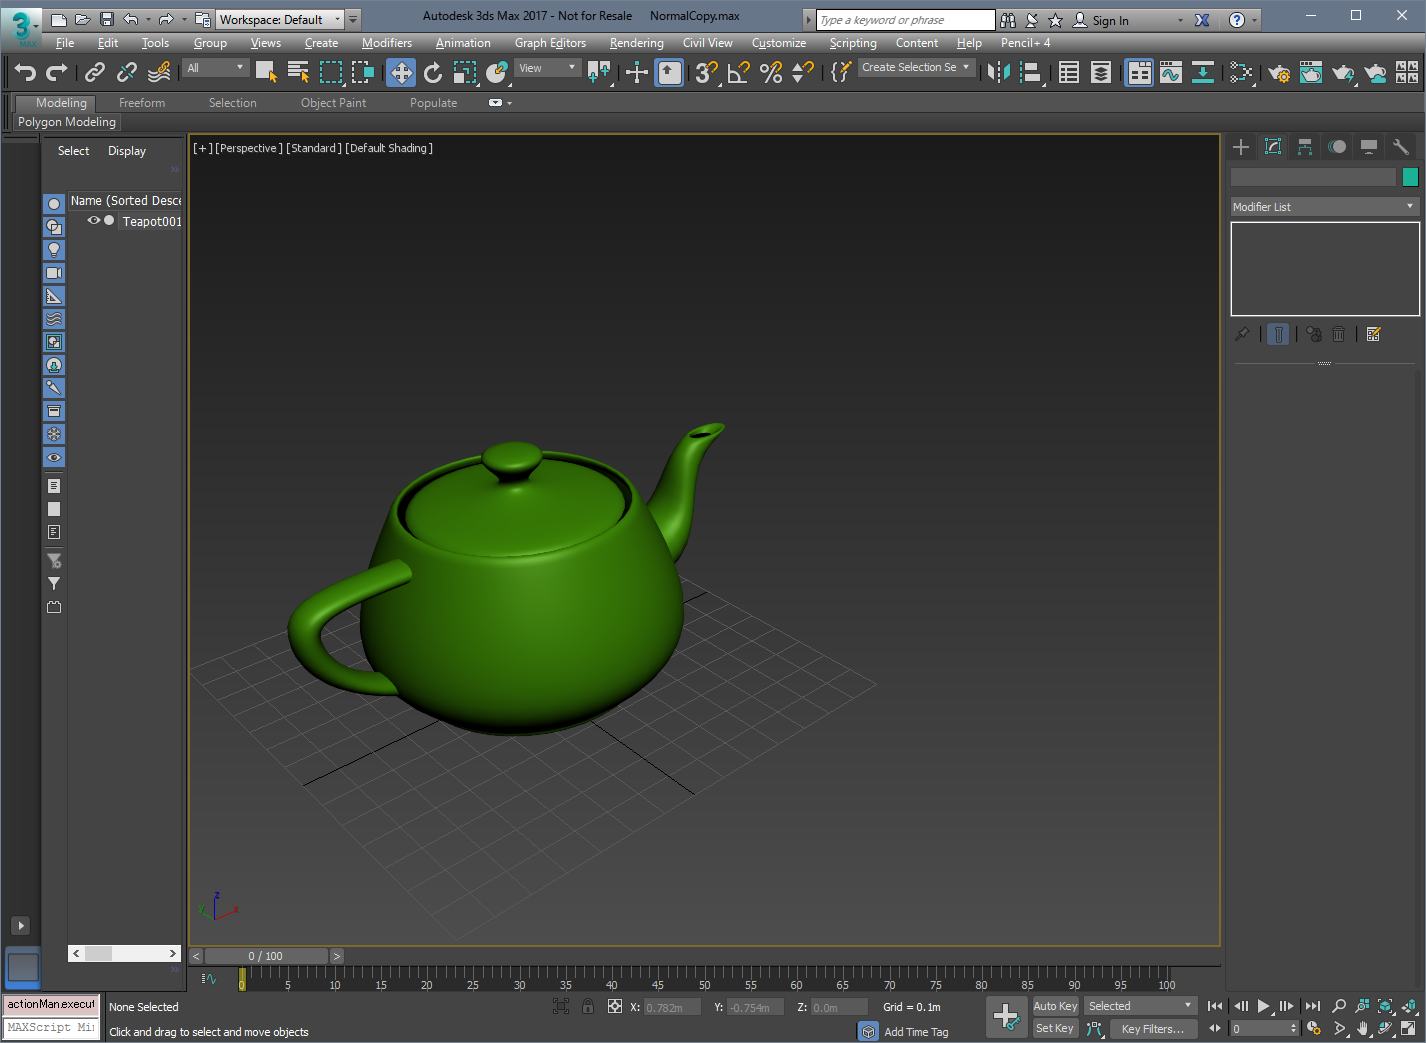
- Create an object.
In this example, we use the [Teapot] object from the Standard Primitives.
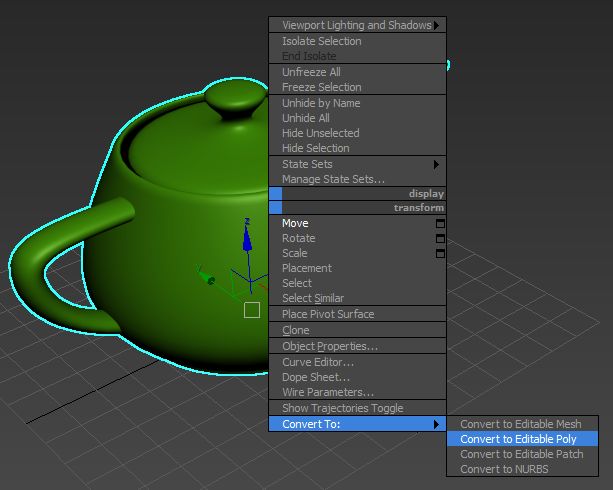
- Apply [Convert to Editable Poly] to the object.
Select the object and click "transform / Convert To: / Convert to Editable Poly" from the Quad Menu.
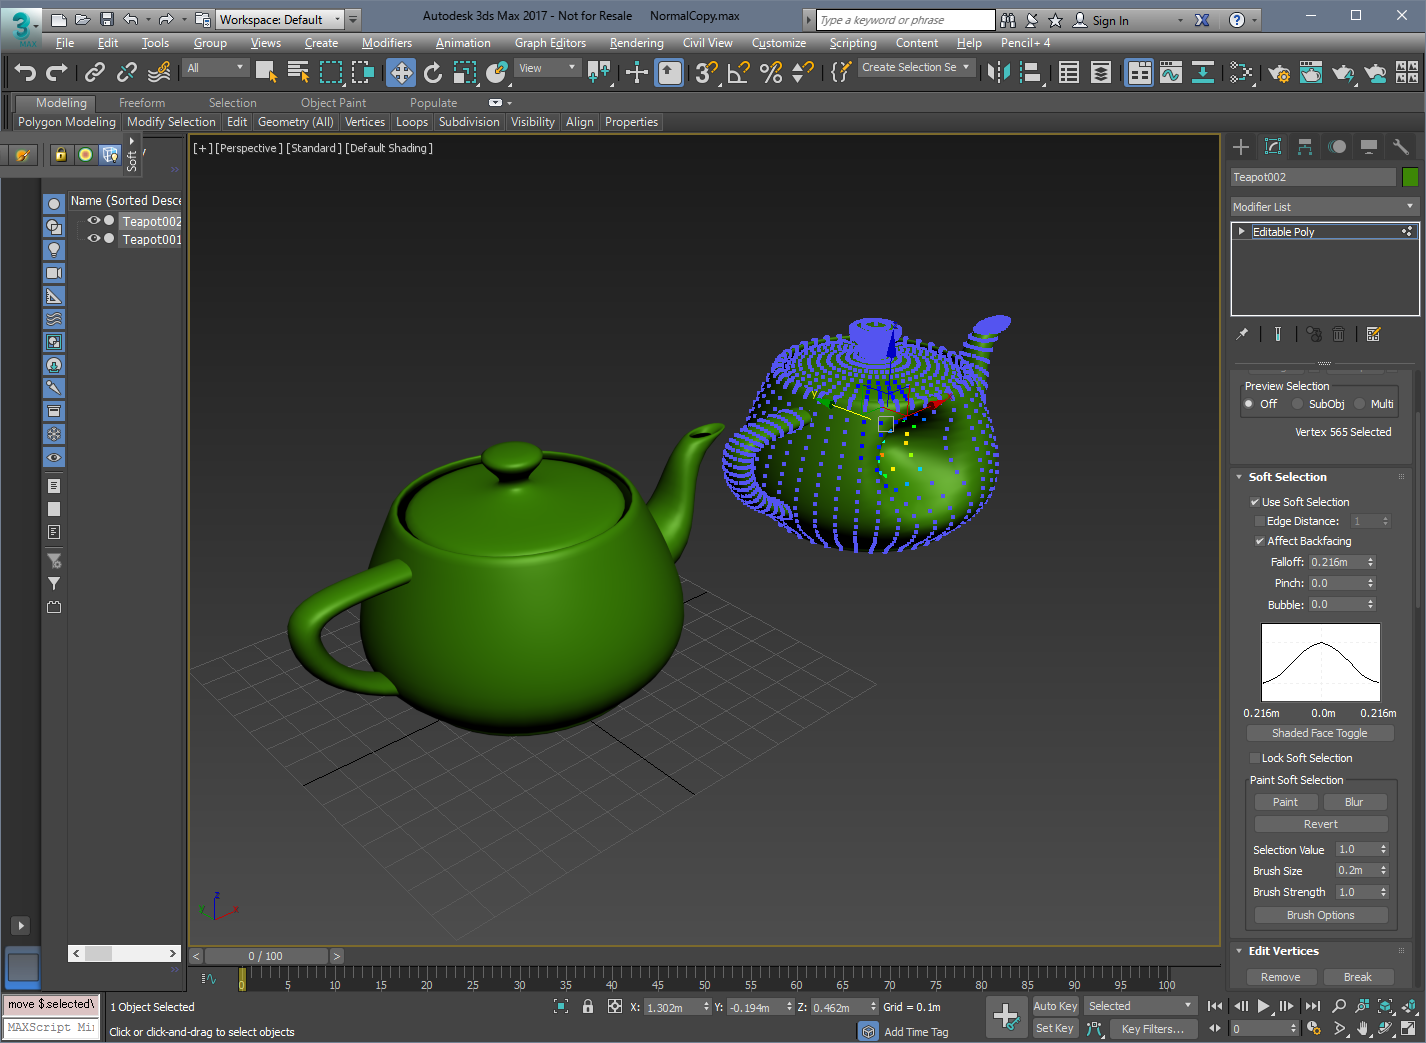
- Create a copy of the object.
Drag the object while pressing the Shift key. The [Clone Options] dialog is shown. Select [Copy] and click [OK].
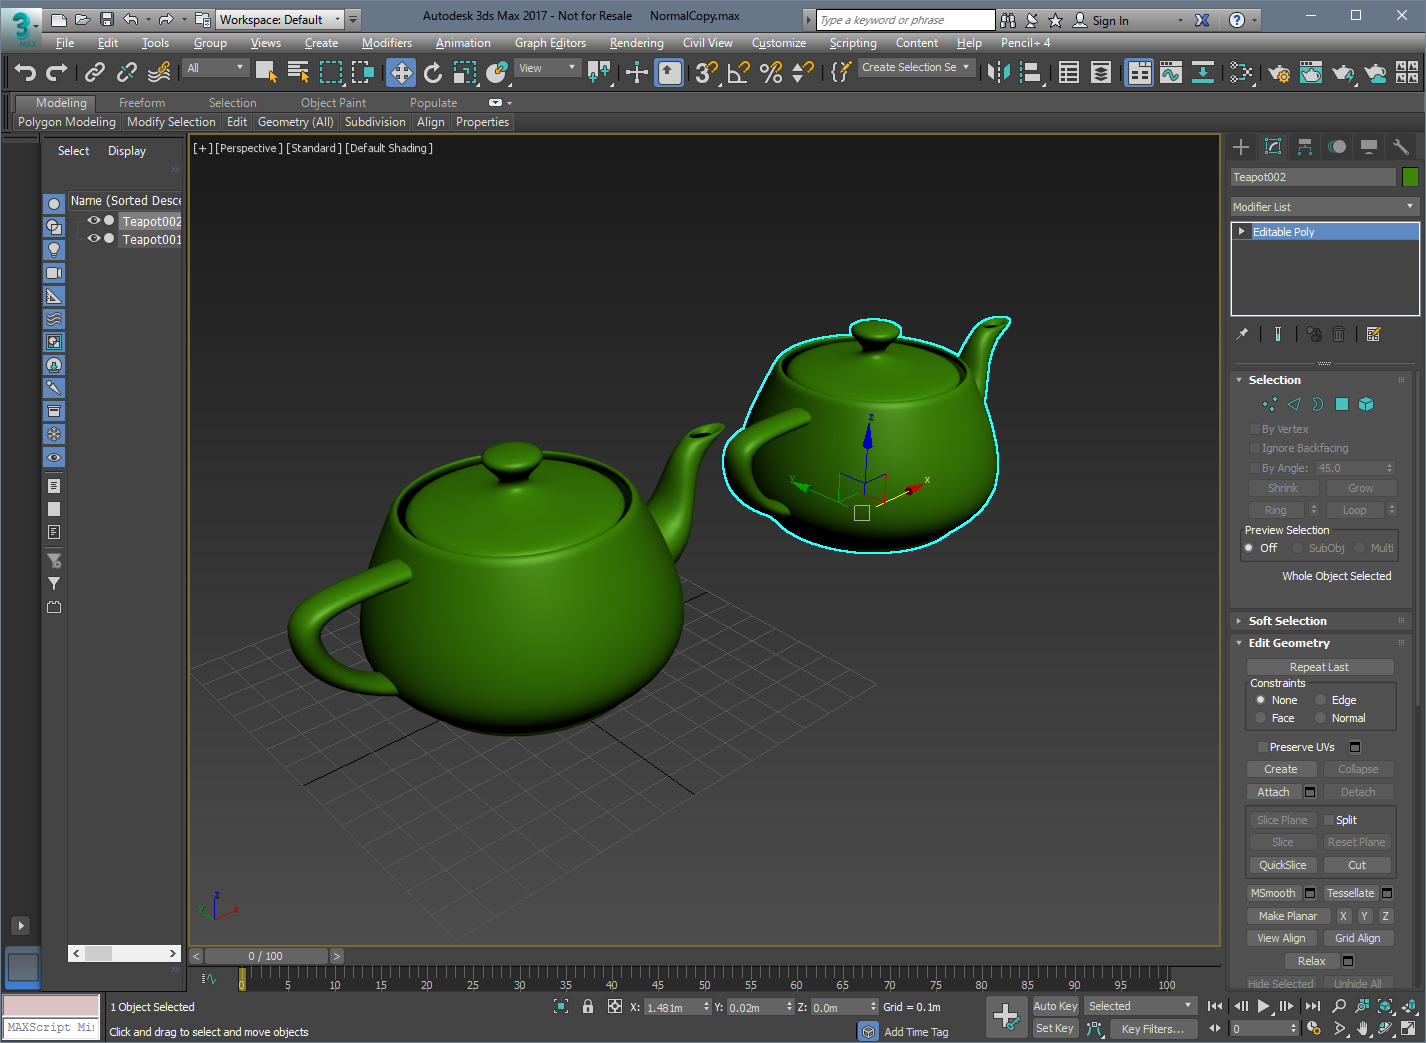
- Edit the shape of the object.
Move the [Vertices] of one of the objects using [Soft Selection]. In this example we moved the vertices to the inside of the teapot.
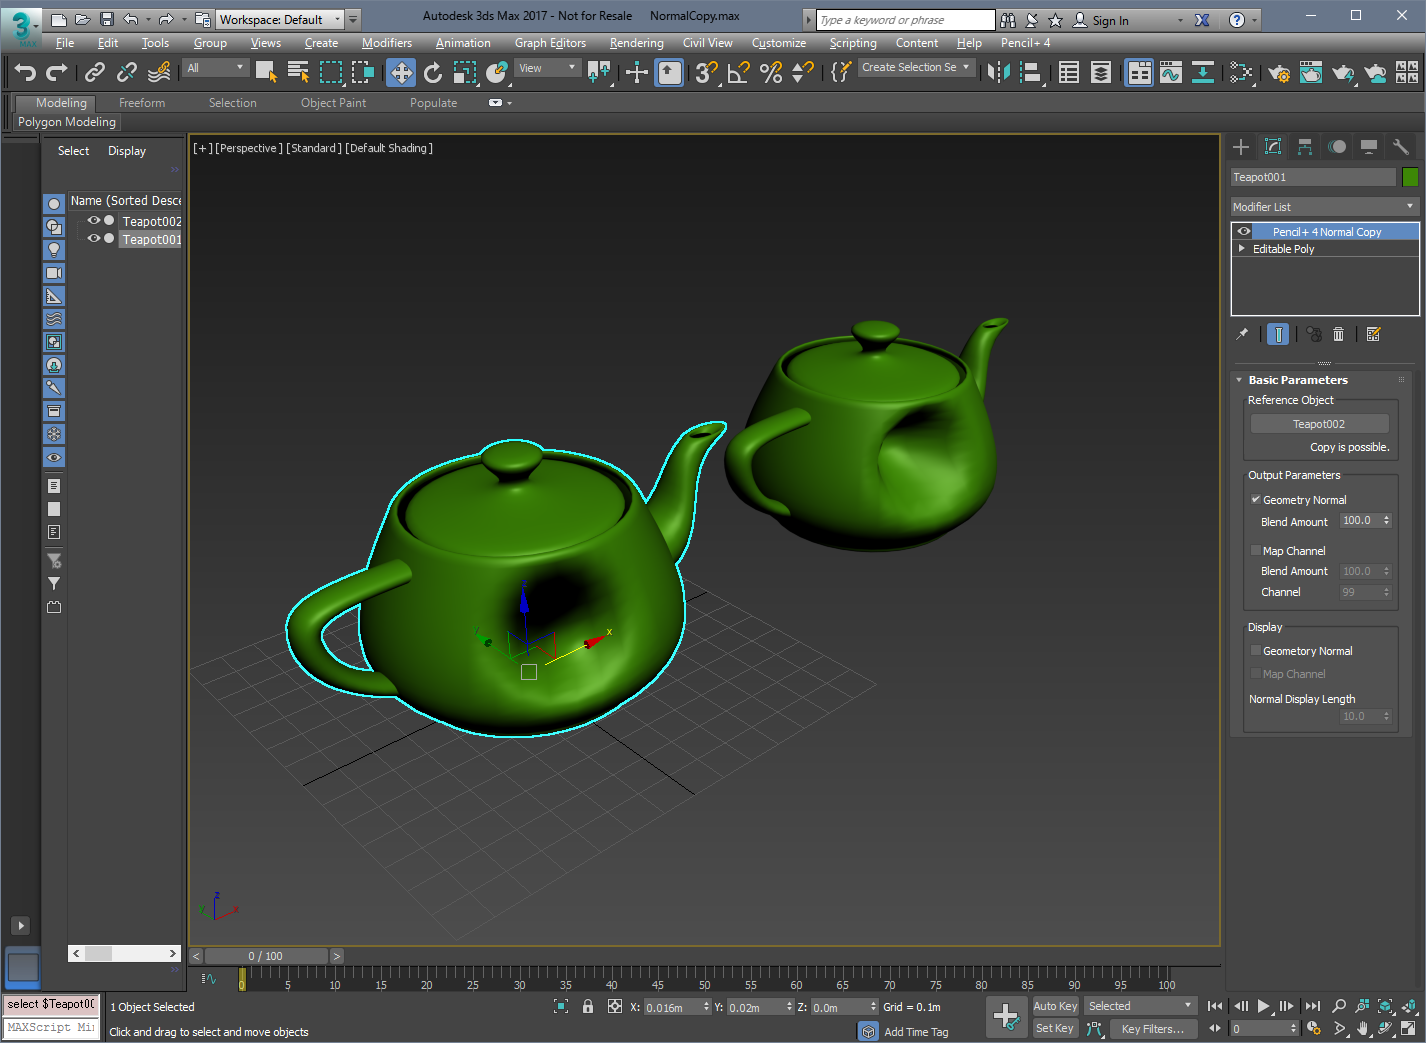
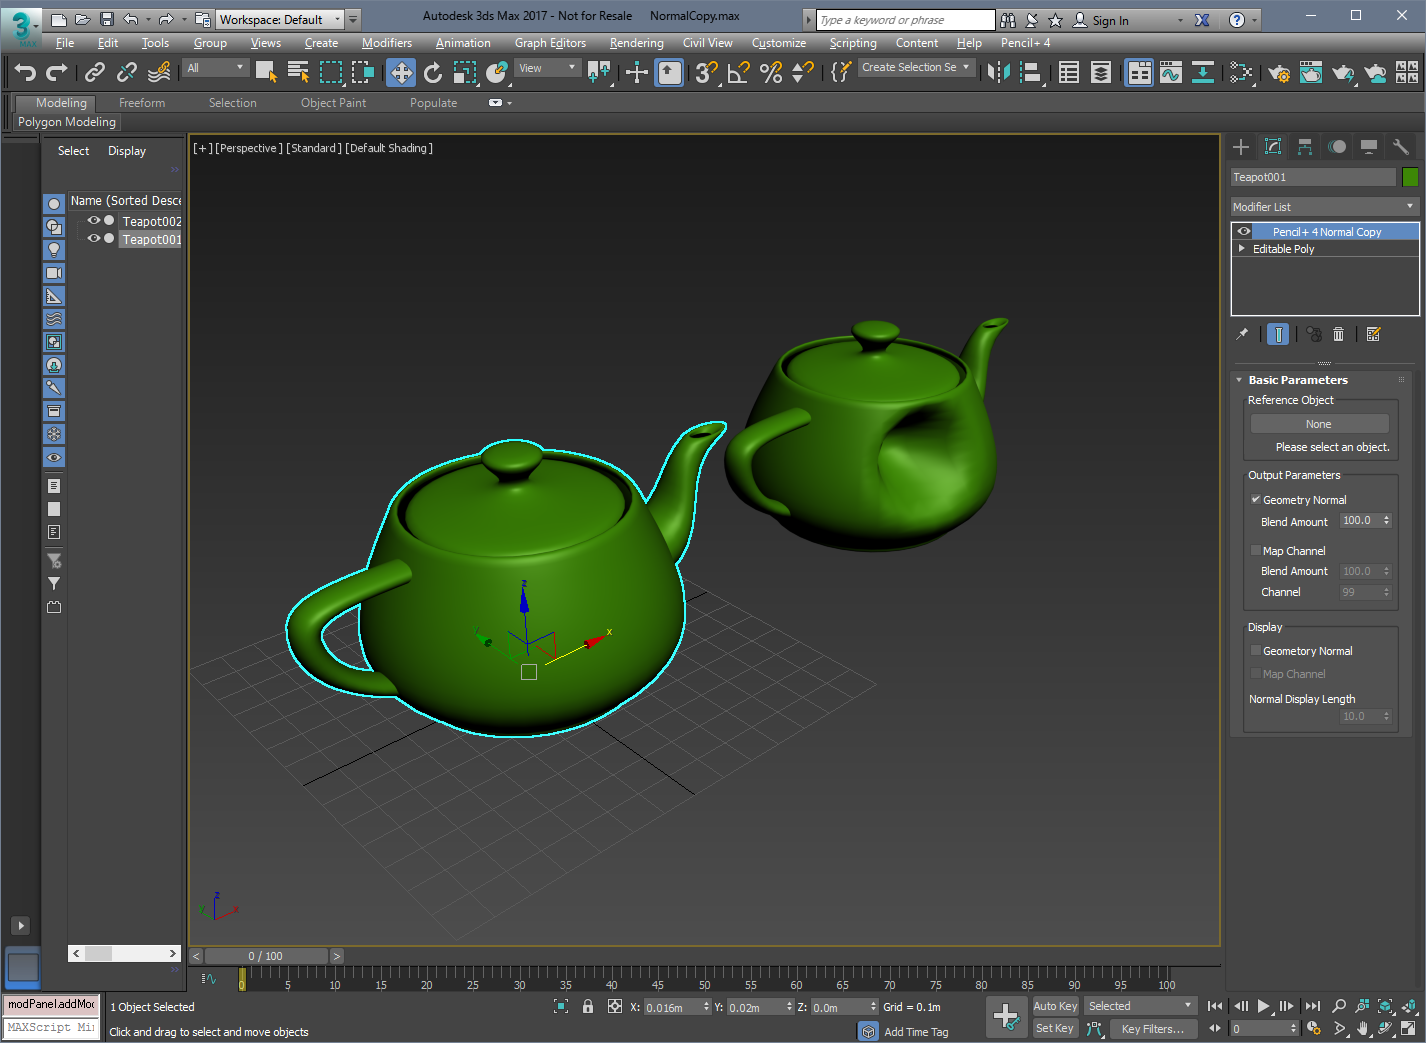
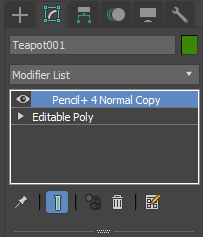
- Apply the Pencil+ 4 Normal Copy modifier.
Select the object with its vertices intact and select the [Pencil+ 4 Normal Copy] modifier from "Modify panel / Modifier List".
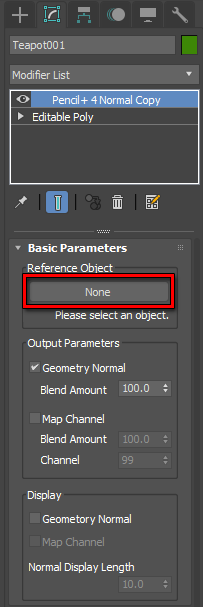
- Specify the [Reference Object].
Click [Reference Object] and select the reference object for the normals from the viewport. In this example, we select the object with the modified vertices.
- The normals data was copied.
Move the viewport and observe the shading. The shape of the object did not change, but the shading references the other object. By using this feature along with [Apply Map Channel to Normal] in Pencil+ 4 Material's Highlight section, it is possible to adjust separately the influence of the normals on the highlights.