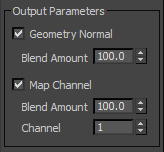
The Normal Copy Modifier is a unique feature which references an object to perform shading calculations for another object with a different shape.
-
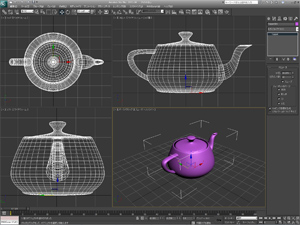 Prepare the scene.
In this example, we use the [Teapot] object from the [Standard Primitives].
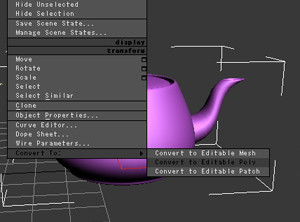 Apply [Convert to Editable Poly] to the object.
Select the object and click [Convert To]/[Convert to Editable Poly] from the Quad Menu.
-
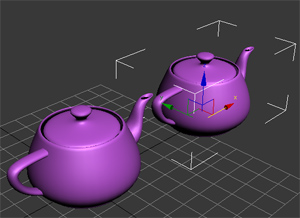 Create a copy of the object.
Select the object and then drag it while pressing the Shift key.
Dragging the object will create a clone of it.
-
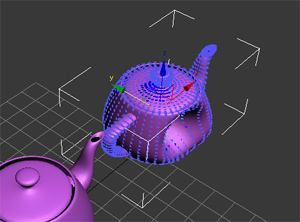 Edit the shape of the object.
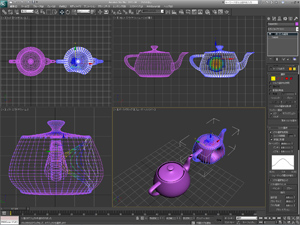
Select one of the objects, and move the [Vertices] using [Soft Selection].
-
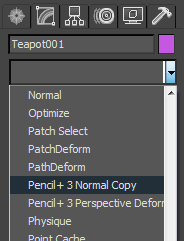
 Apply the [Pencil+ 3 Normal Copy] modifier.
Select the object with its vertices intact and select [Pencil+ 3 Normal Copy] from [Modify] panel / [Modifier List].
-
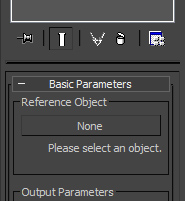 Specify the [Reference Object].
Press the [Reference Object] button.
Select the substitute object on the viewport. In this case, we select the object with the modified vertices.
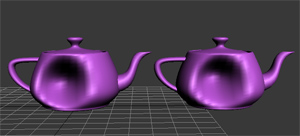
-
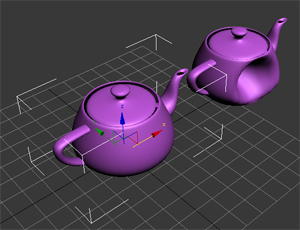
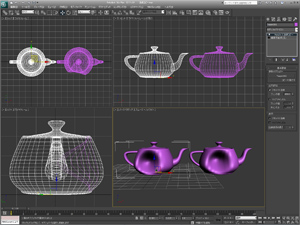 The normal data was copied.
Move the viewport and observe the shading. The vertices did not change, but the shading references the other object.
Tips!
The [Pencil+ 3 Normal Copy] modifier can be used to copy the normal data of an object that has the same number of vertices and same face organization as the target object. By using this feature, it is possible to apply a shading effect that does not conform to the object's shape while maintaining the object's silhouette.
Did you ever experience a situation where, when creating a character-like object and using a toon rendering, an unpleasant shading is applied to spots where the polygon structure is complex, such as around the eyes, mouth, nose, head line, etc.? Such problems can be fixed by using the [Pencil+ 3 Normal Copy] modifier.
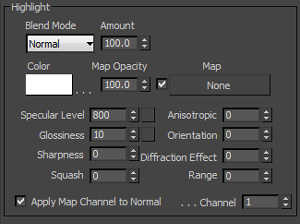
By using this feature along with the [Apply Map Channel to Normal] function in Pencil+ 3 Material's highlight section, it is possible to adjust separately the influence of the normal on the highlights.
